







Why your first 10 minutes matter more than which coin you buy
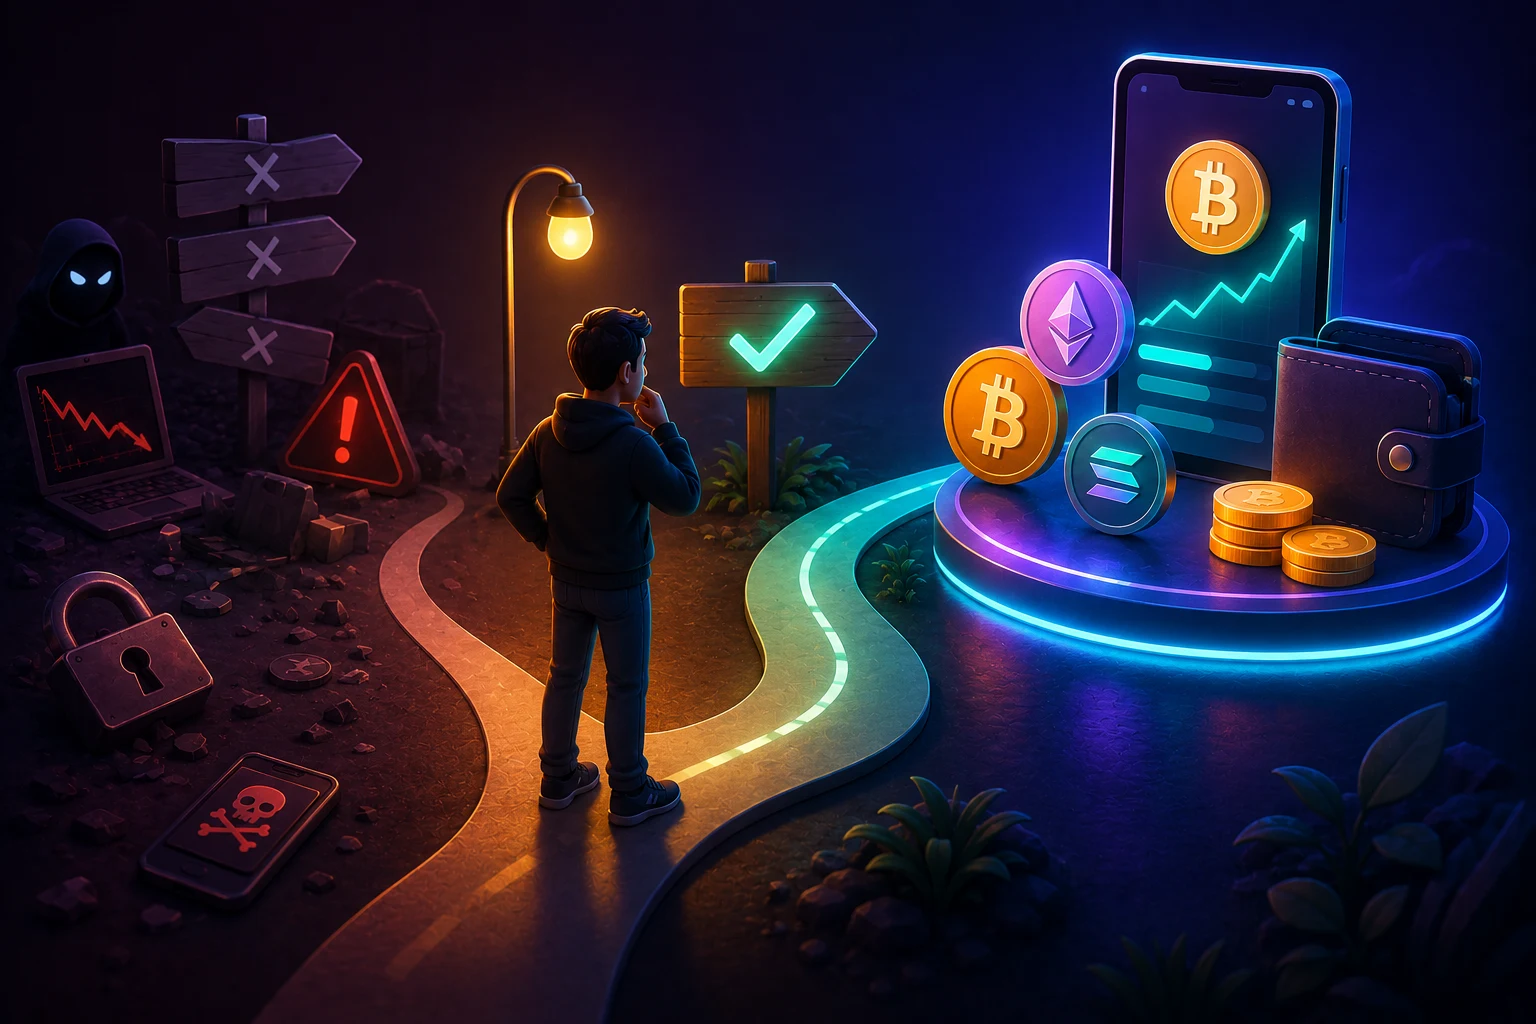
The single biggest predictor of whether a new crypto user keeps their money is not the coin they choose. It is the setup they do in the first ten minutes. Most beginners do not lose funds to a bad trade. They lose funds to a fake wallet download, a copied-and-pasted clipboard address, a signed approval that drains their wallet, or a deposit sent on the wrong network. All of these failures are setup problems, not market problems.
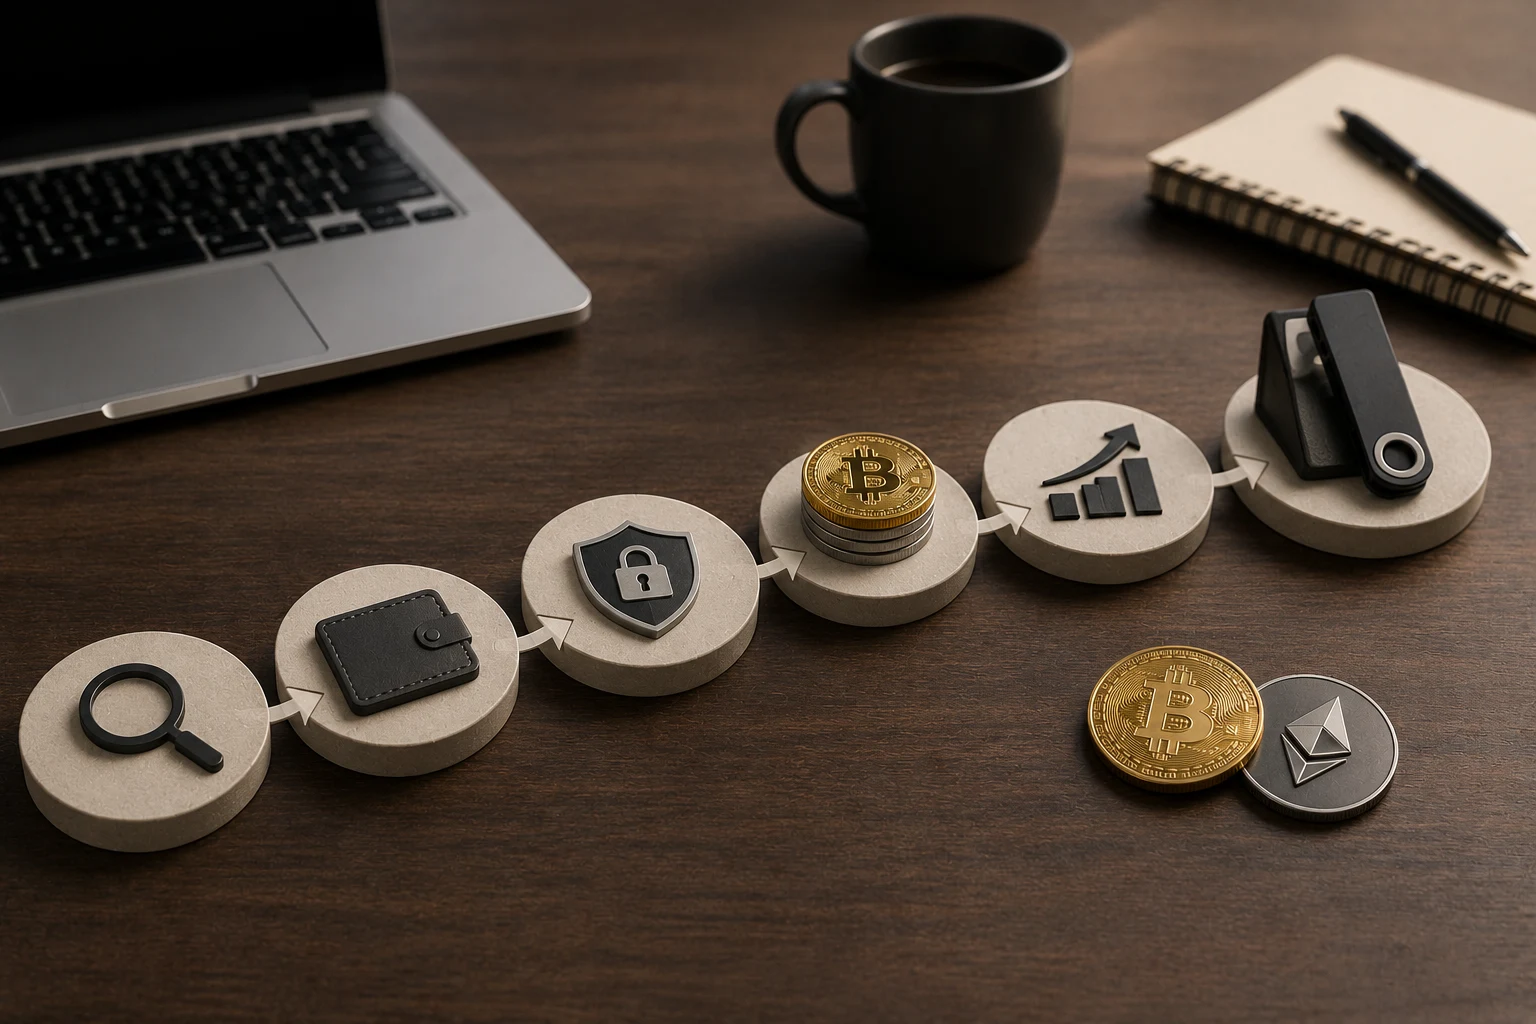
This playbook ignores price predictions, coin picks, and trading strategies on purpose. Those conversations are tempting, and they are everywhere on social media, but they distract from the only question that matters on day one: how do I end this week with the funds I started with? The answer is a short checklist that takes about ten minutes if you move deliberately, and a lifetime of habits if you let it become routine.
If you finish this article and remember nothing else, remember three rules. Use a regulated venue to convert your local currency into crypto. Move your crypto into a wallet only you control within the same week. Never sign a transaction or approve a contract you cannot explain in one sentence. Everything else is detail.
Real risks beginners actually face in week one
The risks are concrete, not abstract, and most of them are operational rather than financial. They deserve to be listed plainly, because naming the failure mode is the first step to avoiding it.
Phishing sites and fake wallet apps
- Search results and sponsored ads can place look-alike domains above the real wallet or exchange. A download from a fake site gives the attacker your seed phrase or your exchange login.
- Browser wallet phishing is the most common cause of total loss for new users in 2024 and 2025. The wallet shows a legitimate-looking prompt; the user signs a malicious approval; the wallet is emptied within minutes.
Lost or leaked seed phrases
- A seed phrase is the master password that regenerates your wallet on any device. Anyone who has it owns your funds forever. Cloud notes, screenshots, and emailed copies are the three most common ways seeds leak.
- If you lose the seed phrase and your phone breaks, the funds are gone. There is no customer support line for self-custody. This is the trade-off for skipping the bank.
Wrong network, wrong address, wrong amount
- Sending USDC on the wrong network, or sending ETH to a BTC address, can mean permanent loss. Networks look similar and addresses look similar.
- Copy-paste malware swaps wallet addresses in the clipboard. Always re-read the full address character by character on the receiving screen.
Exchange and stablecoin counterparty risk
- Centralized exchanges have failed before. Custodial risk means you do not have the keys while funds sit on the platform. Stablecoins like USDT and USDC are issued by companies that can freeze or depeg under stress.
- Self-custody removes exchange failure from the equation but introduces personal-key responsibility. There is no risk-free option.
Notice that none of these risks depend on whether BTC goes up or down. They are setup risks. The first ten minutes are where you defuse them.
Step 1: Pick a regulated on-ramp, not your final home
To turn dollars, euros, or pesos into crypto you need an on-ramp. For most beginners, that means a centralized exchange (CEX). The exchange is a temporary bridge, not your wallet. Choosing a regulated exchange means the platform has KYC (identity verification) and AML (anti-money-laundering) controls, which lowers the odds that it is a fly-by-night scam. It does not eliminate risk.
What to check when you pick an exchange:
- Regulatory status in your country. Look for a license, registration, or equivalent from a national financial regulator. Compare BTC and ETH availability and fees, but also check withdrawal history and known incidents.
- Proof of reserves or attestation reports. These do not guarantee solvency, but exchanges that publish them are usually more transparent than those that do not.
- Cold-storage policy. Reputable exchanges keep the bulk of customer funds offline in hardware wallets.
- Withdraw fees and minimums for BTC, ETH, USDT, and USDC. These networks have different costs and confirmation times.
The regulated-exchange-versus-DEX trade-off is real. A decentralized exchange (DEX) lets you trade without giving up custody, which is more secure in theory. In practice, DEXs assume you already know how to manage a wallet, read contract warnings, and pay gas fees. For a day-one user, the trade-off usually comes down to this: a regulated exchange is the safer place to buy your first crypto, and a self-custody wallet is the safer place to store it. You will likely use both.
Skip no-KYC instant-buy apps unless you understand exactly where the funds are held. If the app will not tell you the legal entity operating it, walk away.
Step 2: Install a self-custody wallet before you deposit
A self-custody wallet is software (or hardware) that holds the private keys to your crypto. The keys never leave your device, which means no third party can move your funds. The flip side is that if you lose access, no one can help you recover them. This is why setting up the wallet should happen before you deposit meaningful money.
Choose between hot and cold wallets
- Hot wallets are apps on your phone or browser. They are convenient for small balances and active use, and they connect to the internet, which makes them more exposed.
- Cold wallets are hardware devices that keep your keys offline. They cost money, and they add friction to every transaction, but they are the safer long-term home for funds you do not plan to trade actively.
- For your first week, a reputable mobile or browser hot wallet is fine. You can always add a hardware wallet later.
Download from the official source only
- Type the wallet's official URL directly into the browser. Do not click search ads.
- Verify the developer name, the number of downloads, and the published hash on mobile stores.
- For browser extensions, pin the extension after install and check the publisher ID.
Create the wallet and back up the seed phrase
- The wallet will generate a recovery phrase, usually 12 or 24 words, sometimes called a seed phrase or mnemonic. This phrase is the master key. Anyone with it can drain the wallet.
- Write it on paper with a pen. Do not screenshot, photograph, email, or cloud-sync it.
- Store the paper in a place only you can access. A second copy in a separate physical location protects against fire or loss, but multiplies the number of people who could see it.
- Never type the seed phrase into a website, a support chat, or a form. No legitimate support agent will ever ask for it.
There is a subtle but important point here: the seed phrase is the wallet. The app is just an interface. Losing the seed phrase with the device means losing the funds. Backing up the seed phrase offline is not paranoia; it is the whole point of self-custody.
Step 3: Make a small test transaction before you scale up
This step is the one beginners most often skip, and it is the one that saves them when something is misconfigured. The goal is to send a tiny amount from the exchange to your self-custody wallet and confirm it arrives correctly. The cost is a few dollars in fees. The value is finding out, while the loss is small, whether everything is wired up right.
How to run the test:
- On the exchange, copy your wallet's receive address. For BTC use a Bitcoin (native) address. For ETH, USDT, or USDC, use an Ethereum or EVM address. Mismatched networks will fail or lose funds.
- Re-read the address character by character, especially the first four and last four characters. Clipboard malware swaps addresses silently.
- Send the minimum practical amount. For ETH mainnet, even a few dollars is enough to test. For cheaper networks you can go lower.
- Wait for the required confirmations. BTC typically needs 1 to 3, ETH needs 12 to 20 for full finality, stablecoins depend on the issuer and network.
What to watch for
- The funds appear in your wallet at the amount sent minus network fee.
- The transaction shows up in a public block explorer with the expected from and to addresses.
- You can sign a small outbound transaction from the wallet back to the exchange or to another address you control.
If any of these fail, do not send more funds. Diagnose first. Common reasons for failure include wrong network selected on the exchange, wrong token contract address, or a wallet that is showing a different chain than expected. Most beginners who lose funds on day one skipped the test step because the small amount felt wasteful.
Step 4: Learn to recognize what you are signing
Once your wallet holds real funds, every signature you give is a potential drain. Wallet UIs have improved, but the underlying logic still puts the responsibility on the user. The single most important habit is to read every prompt, and to refuse anything you cannot explain.
Common prompt types:
- Transfer. You are sending a specific token to a specific address. Safe if the address is correct.
- Approval. You are authorizing a smart contract to move a specific token from your wallet up to a specific amount, often unlimited. These are the prompts scammers target. An unlimited approval to a malicious contract lets the attacker pull funds at will.
- Signature. A generic off-chain message. Some are harmless login proofs. Others are permit-style approvals (EIP-2612) that grant token-spending rights to a contract. Reviewing how approvals and permits work is worth a separate article; for now, treat any signature request on an unfamiliar site as suspect.
The rule is simple: avoid signing unknown approvals. If a site you have never used before asks you to sign a transaction, close the tab. If a popup appears in your wallet that you did not trigger, close it. If a support agent in a Discord or Telegram asks you to sign something, treat them as an attacker by default. The friction of being suspicious is the cost of keeping your funds.
You can also harden the wallet itself. Use a dedicated browser profile for crypto. Revoke old token approvals periodically using a reputable allowance checker. Consider a hardware wallet for balances you do not actively trade. None of these are perfect, and none of them substitute for attention.
Step 5: Put the pieces together and survive the first week
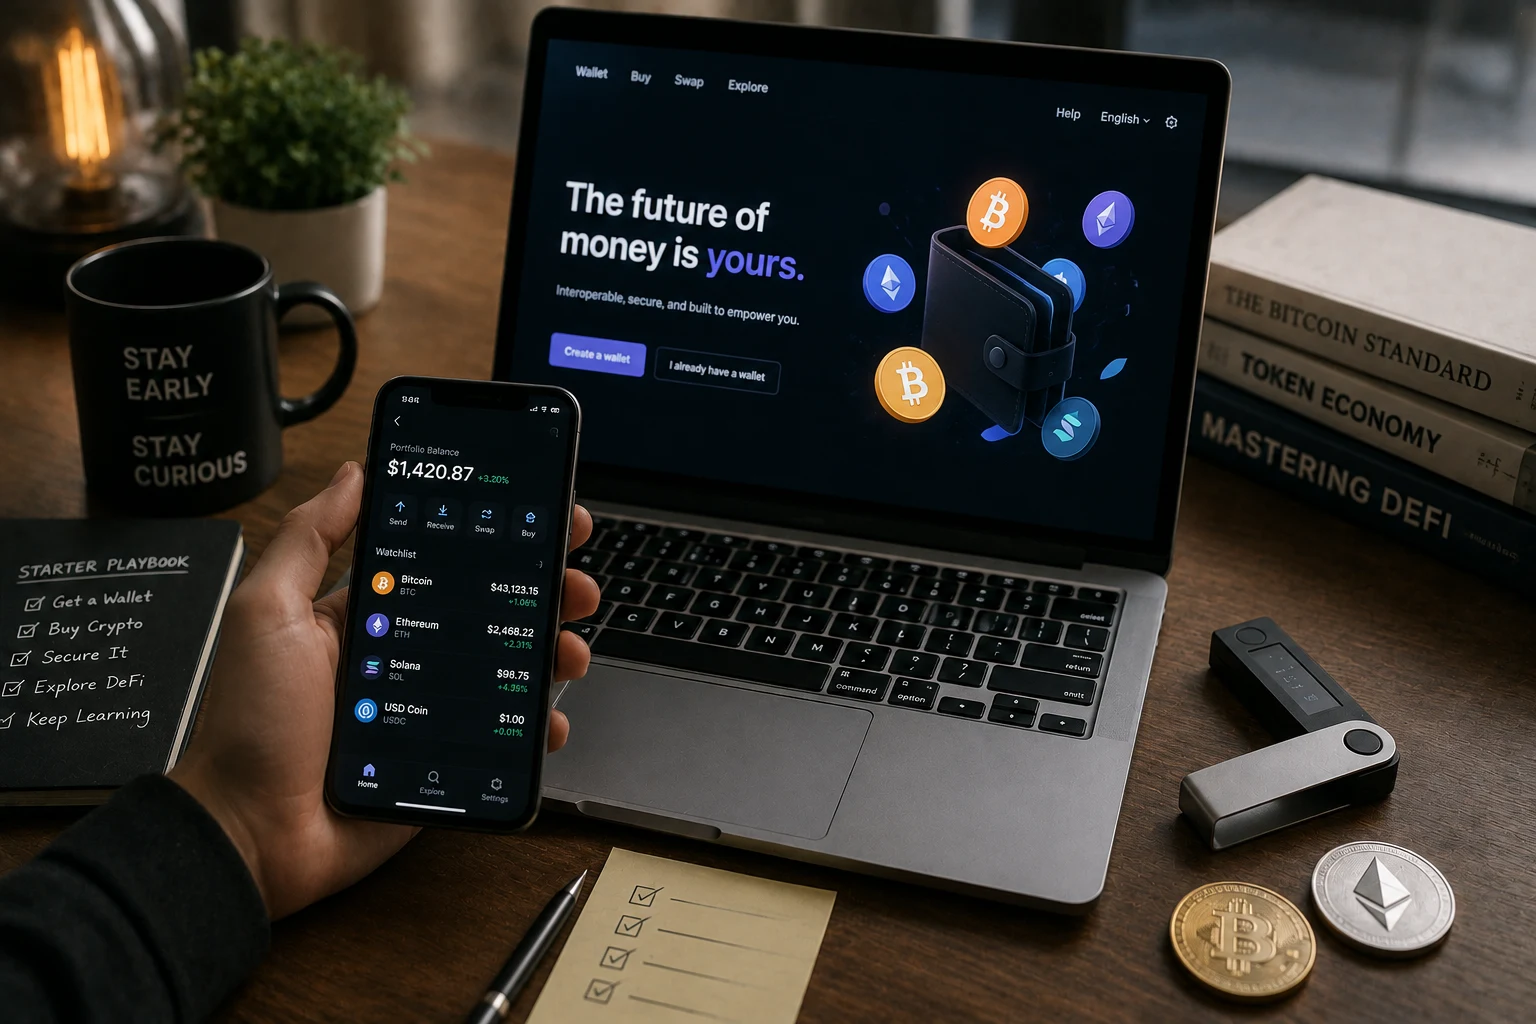
You now have a working setup. The exchange holds identity verification and a small float. The self-custody wallet holds the bulk of your funds with keys you control. A test transaction has confirmed the pipeline works. The remaining work is to behave consistently for the next seven days, which is where most beginners undo their setup.
A short weekly checklist:
- Re-read the seed phrase backup once. Make sure it is still legible and stored privately.
- Review recent wallet activity for approvals you do not remember granting.
- Confirm the exchange still has funds only in the amount you intend to trade, not the amount you intend to hold.
- Update wallet software from the official source when updates appear.
Two common week-one mistakes deserve a callout. First, the urge to chase a coin that is pumping on social media. That urge is strongest in the first 48 hours, before the test transactions and approval hygiene feel normal. Resist it. The market will still be there in two weeks. Second, the tendency to keep all funds on the exchange because the wallet feels complicated. The exchange is convenient precisely because someone else holds your keys, and someone else can lose them.
None of this requires you to choose BTC over ETH, or USDT over USDC, or any other coin-level decision. Those choices exist, and they matter, but they are downstream of the setup. A clean setup makes them reversible. A messy setup makes every decision sticky.
How to follow crypto news without getting scammed or sold
Crypto news moves fast, and the fastest movers are often the loudest and the least accurate. Manual tracking across X, Discord, Telegram, and a dozen news sites is a losing game for anyone who also has a job and a life. Zippfeed surfaces crypto headlines with sentiment scoring that flags each story as bullish, neutral, or bearish, and an importance rating so you can tell a routine exchange listing from a real protocol exploit. Pair the Zippfeed feed with the playbook above, and you can react to news without ever being the person who clicks first and asks questions later.



 Crypto News
 Lookonchain
 CoinDesk
 CoinTelegraph
 TheBlock