







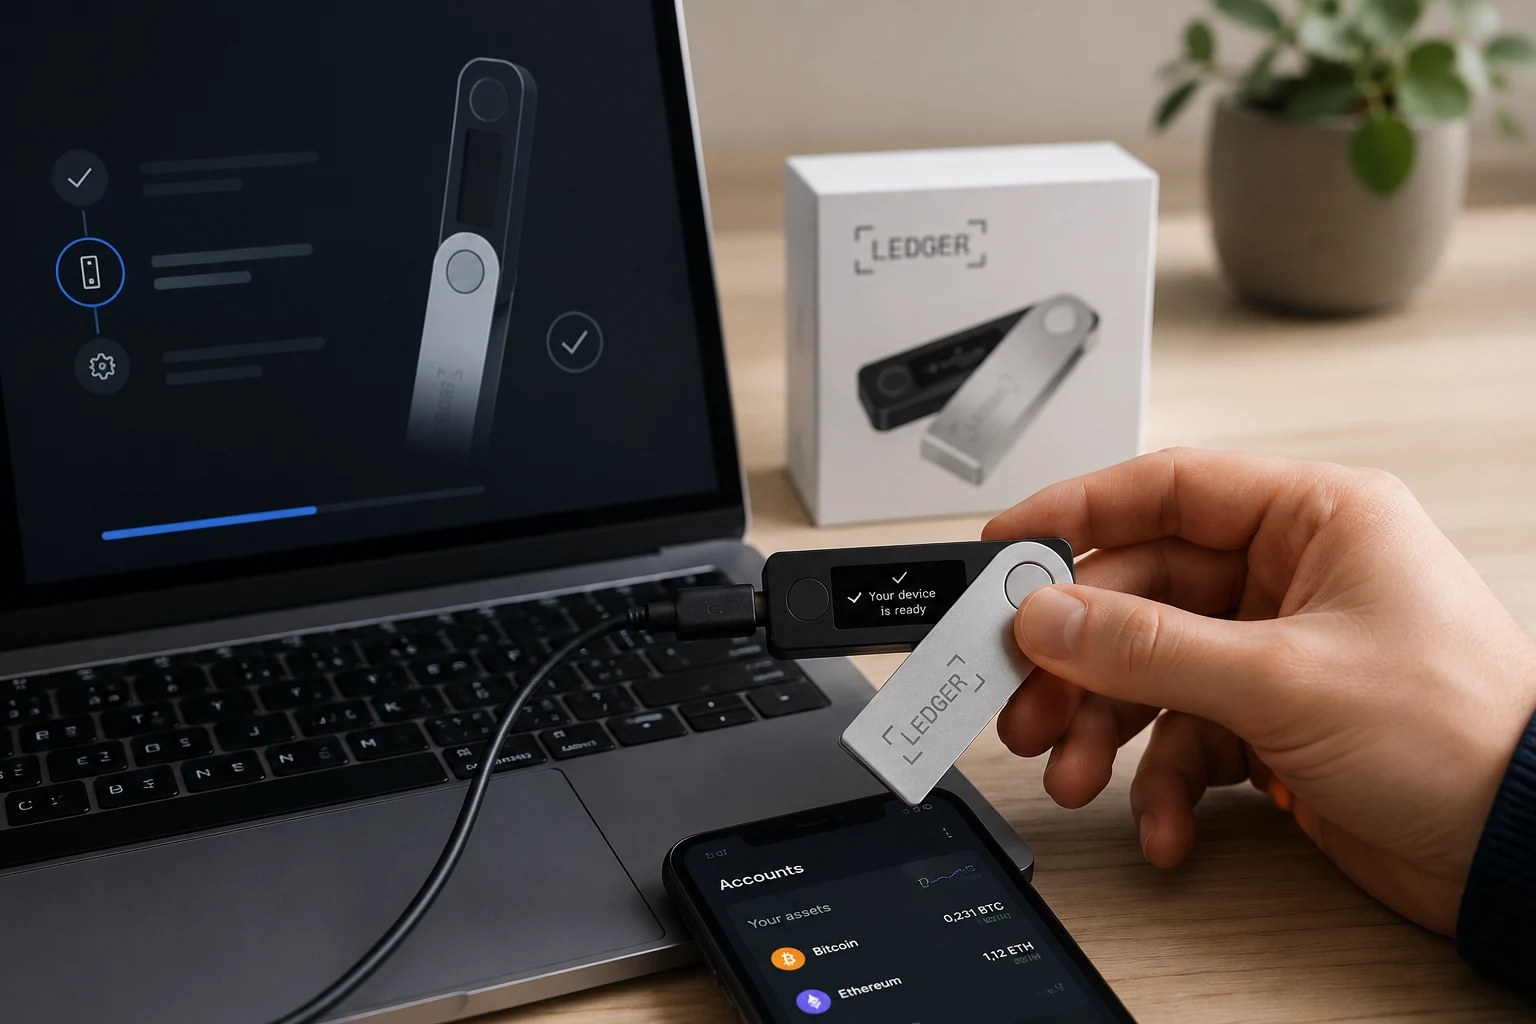
What you'll need
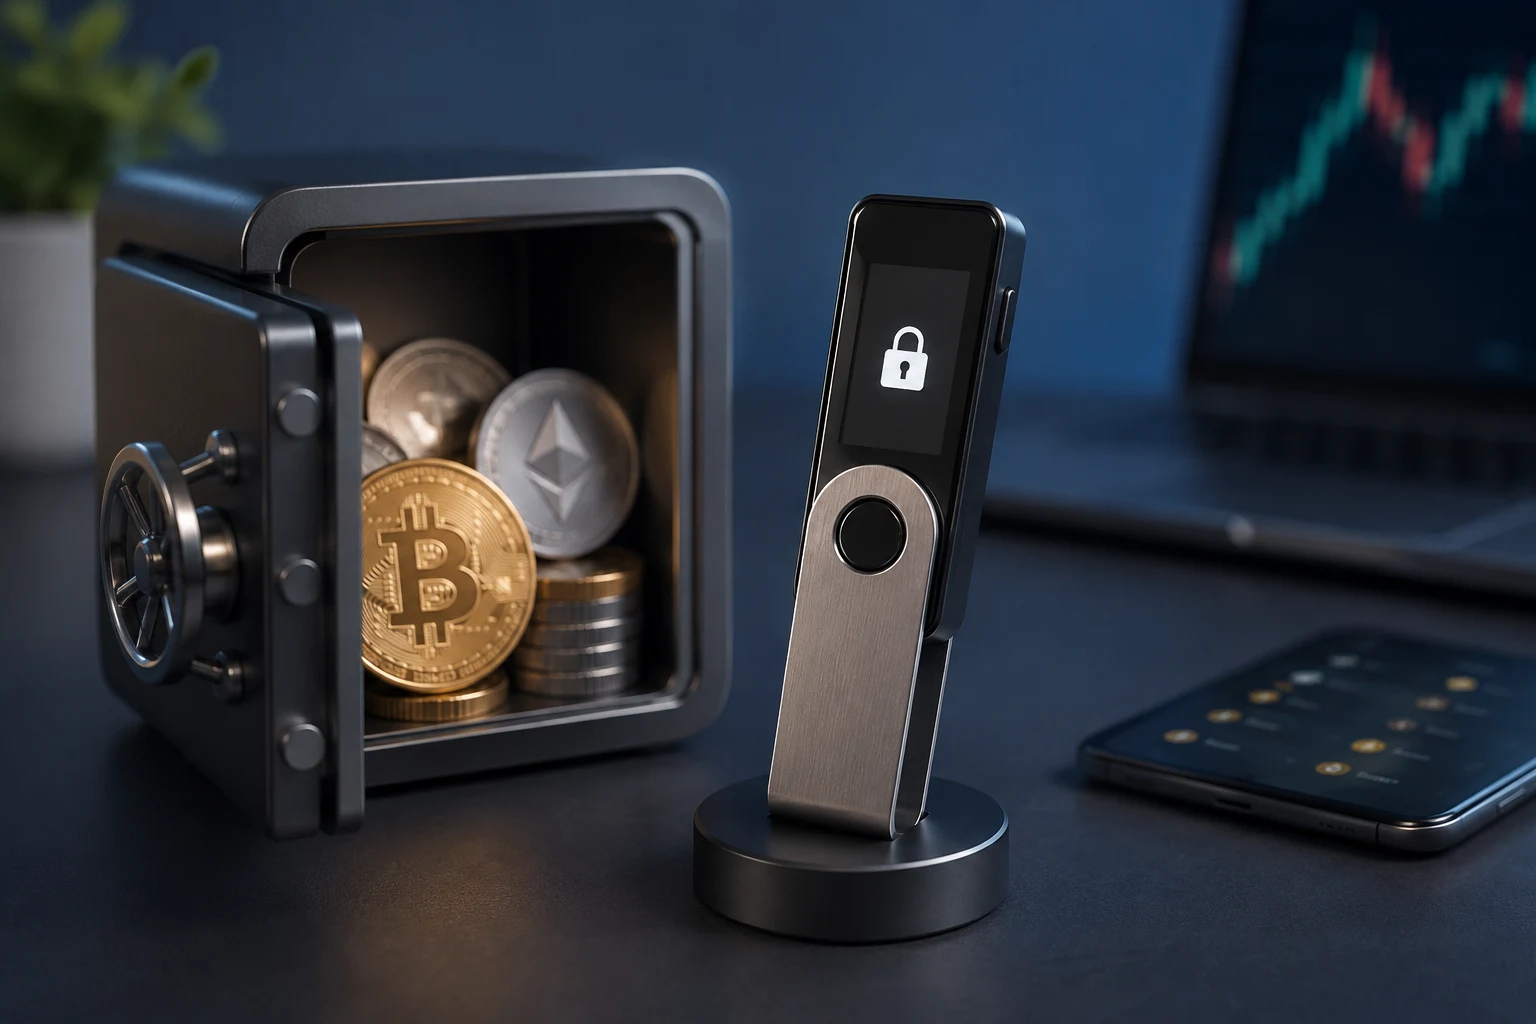
- A Ledger Nano S Plus, Nano X or Stax bought new from ledger.com or an authorised reseller.
- A computer (Windows, macOS or Linux) and a USB cable, or for Nano X a phone with Bluetooth.
- The Ledger Live app downloaded from ledger.com — not from a search-engine ad.
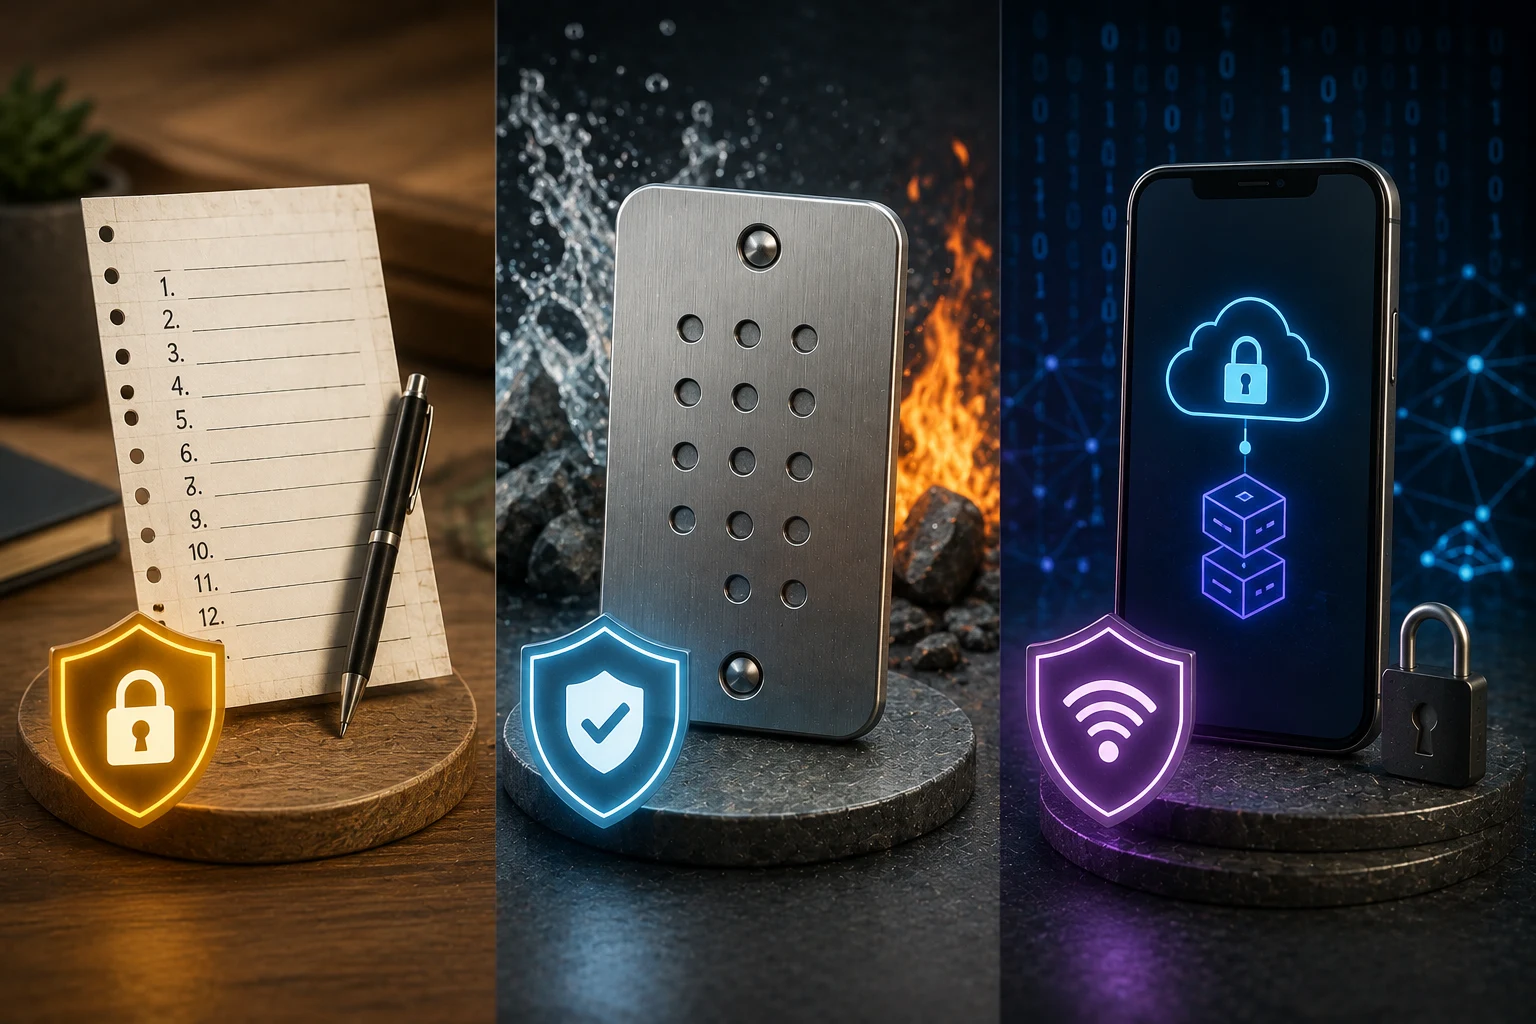
- The included recovery-phrase cards, plus a pen. Optional: a metal backup plate for serious amounts.
Step 1: Verify the device is genuine and untampered
Check the box carefully:
- Buy only from ledger.com or an authorised reseller. Never accept a Ledger that arrived as a gift from an unknown party.
- The packaging should be sealed and intact. Loose tape or evidence of opening is a red flag — return the device.
- The device must be in a fresh state — no preconfigured "convenient" recovery phrase. A real Ledger asks you to set up a new PIN and generate a new phrase on first use.
Scammers occasionally ship pre-initialised devices with a phrase they already know. Always start from a sealed, factory-fresh device that you initialise yourself.
Step 2: Download Ledger Live from the official source
Go to ledger.com/start in your browser. Download Ledger Live for your operating system. Verify the publisher signature on installation. Do not click sponsored ads or links someone sent you — fake Ledger Live downloads are a known attack vector.
Step 3: Initialise the device and choose a PIN
Power on the Ledger and follow the onscreen prompts. Choose "Set up as new device." Pick a PIN of 4 to 8 digits. The PIN protects the device from physical theft; after a few incorrect attempts, the device wipes itself. The recovery phrase still restores everything on a new device.
Step 4: Write down the 24-word recovery phrase
The Ledger will display 24 words one at a time. This is your master key — write it down carefully by hand:
- Use the cards Ledger provides. Write the words in order, with the correct number.
- Double-check each word. A misspelled word can make the phrase impossible to recover later.
- Confirm the words on the device when prompted. This is intentional friction.
- For larger amounts, copy the phrase onto a metal backup plate.
- Store the cards/plate somewhere safe and away from the device. Many users keep one copy at home and another in a separate secure location.
- Never type, photograph, screenshot, message or upload the phrase. Never tell it to anyone — Ledger support will never ask for it.
Step 5: Install apps for the chains you use
Open Ledger Live and connect the device. Through the Manager, install the apps for the chains you actually use — Bitcoin, Ethereum and a few others is plenty for most users. You do not need to install every app. Each app is small; storage is limited on smaller Ledgers.
For each app, Ledger Live can also create an account so you can see balances and transactions. Some chains require an extra app (such as the Polygon app for Polygon Ethereum), while many EVM chains share the Ethereum app.
Step 6: Connect to a wallet (optional)
You can use Ledger Live alone, or pair the Ledger with a wallet such as MetaMask or Phantom. The Ledger always signs transactions on its screen; the wallet just builds the transaction and presents it. See our how to set up MetaMask and how to set up Phantom wallet guides for those flows.
Step 7: Always verify on the Ledger screen
The most important habit:
- When sending crypto, check the destination address on the Ledger screen — not just on your computer.
- Malware can change the address shown on the computer at the last moment. The Ledger screen is the source of truth.
- Read the amount and any contract details displayed before pressing confirm.
This single habit defends against almost every advanced attack.
Common mistakes
- Buying second-hand or from an unverified seller. Compromised devices are a known risk.
- Storing the recovery phrase digitally. Photos, cloud notes, password managers — all are how phrases get stolen.
- Installing fake Ledger Live or fake Ledger apps. Always start from ledger.com.
- Confirming transactions without reading the Ledger screen. Blind signing is the entry point for many drains.
- Sharing the recovery phrase with "support." Real Ledger support will never ask for it. Anyone who does is a scammer.
The safety checklist
- Device bought from ledger.com or an authorised reseller, packaging intact.
- Ledger Live downloaded from ledger.com, publisher verified.
- Initialised as a new device with a self-chosen PIN.
- 24-word recovery phrase written by hand, never digital, ideally engraved on metal for larger amounts.
- Recovery phrase stored away from the device and never shared.
- Only the apps you actually use installed.
- Every transaction verified on the Ledger screen before confirming.
Use a Ledger informed, not impulsive
A Ledger is one of the strongest practical safeguards a retail user can put around their crypto, but it only works if you follow the basics: buy from the right place, set it up yourself, never digital-store the recovery phrase and verify on the screen. Zippfeed surfaces crypto news with sentiment and importance scoring so you can read what is happening in the markets and tools before reacting. This is education, not financial advice — informed beats impulsive every time.